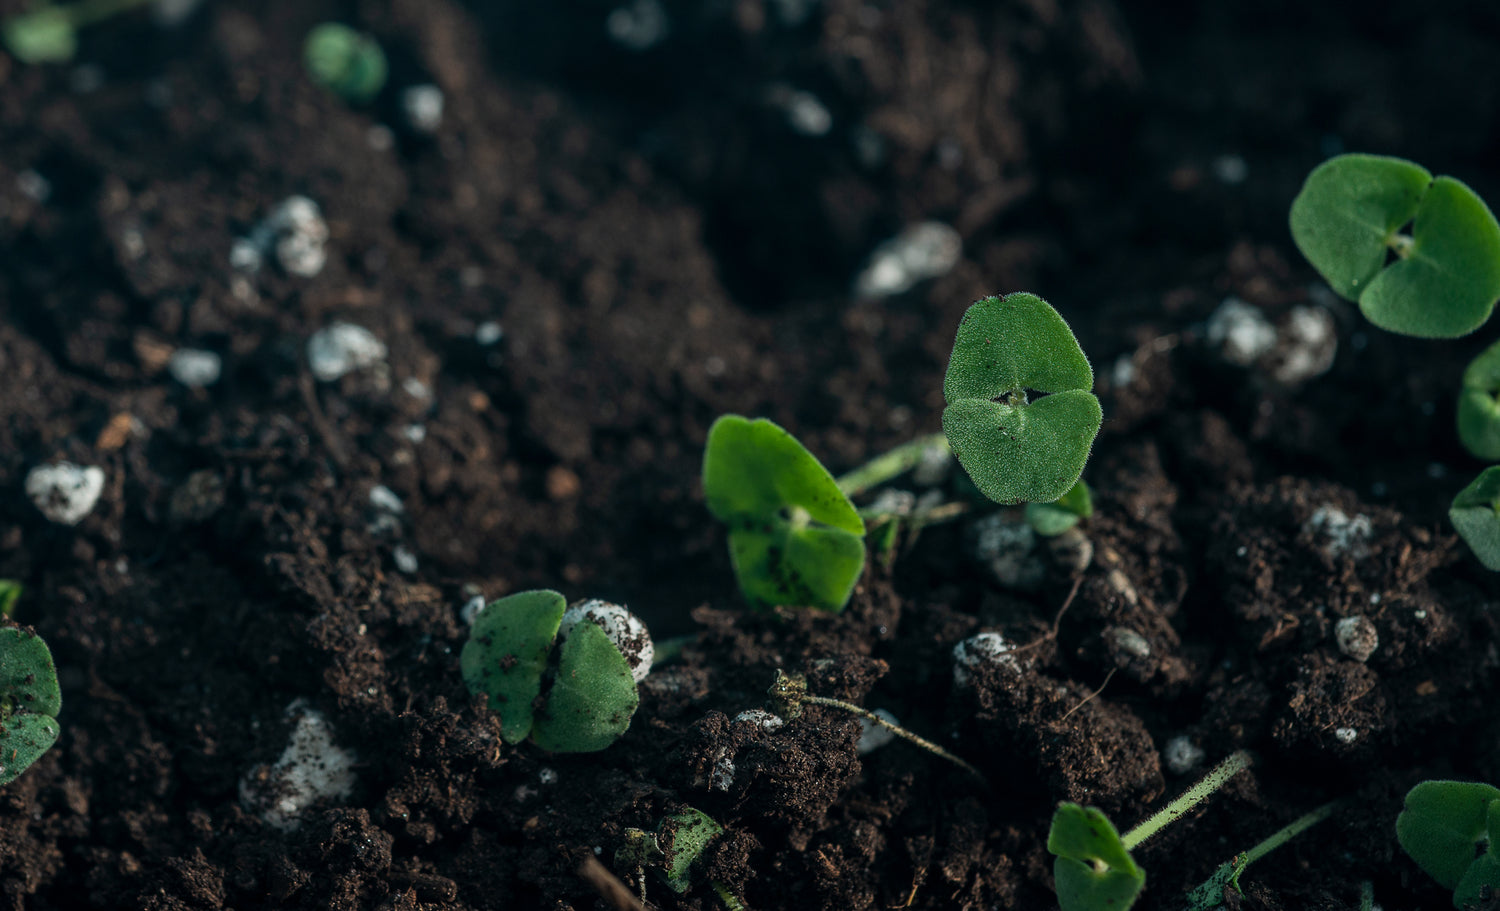
Soil testing is an essential practice for gardeners, farmers, and landscapers alike. It provides valuable insights into the nutrient levels, pH, and overall health of your soil, enabling you to make informed decisions about fertilization, liming, and other soil amendments. Without proper soil sampling and analysis, you risk applying unnecessary or insufficient amendments, leading to poor plant growth, nutrient deficiencies, and potential environmental issues.
When to Sample
The ideal time to collect soil samples depends on your specific situation:
- New Gardens or Landscapes: Sample the soil before planting or establishing a new garden, lawn, or landscape area. This will give you a baseline understanding of the soil's condition and allow you to make any necessary amendments before planting.
- Existing Gardens and Landscapes: Test your soil every 2-3 years to monitor changes in nutrient levels and pH. This will help you maintain optimal soil conditions for your plants.
- Problem Areas: If you notice poor plant growth, discoloration, or other issues in specific areas, sample those areas to identify potential nutrient deficiencies or imbalances.
- Before Fertilizing or Liming: Test your soil before applying fertilizers or lime to ensure you're providing the right amendments in the correct quantities.
Sampling Tools and Supplies
To collect soil samples effectively, you'll need the following tools and supplies:
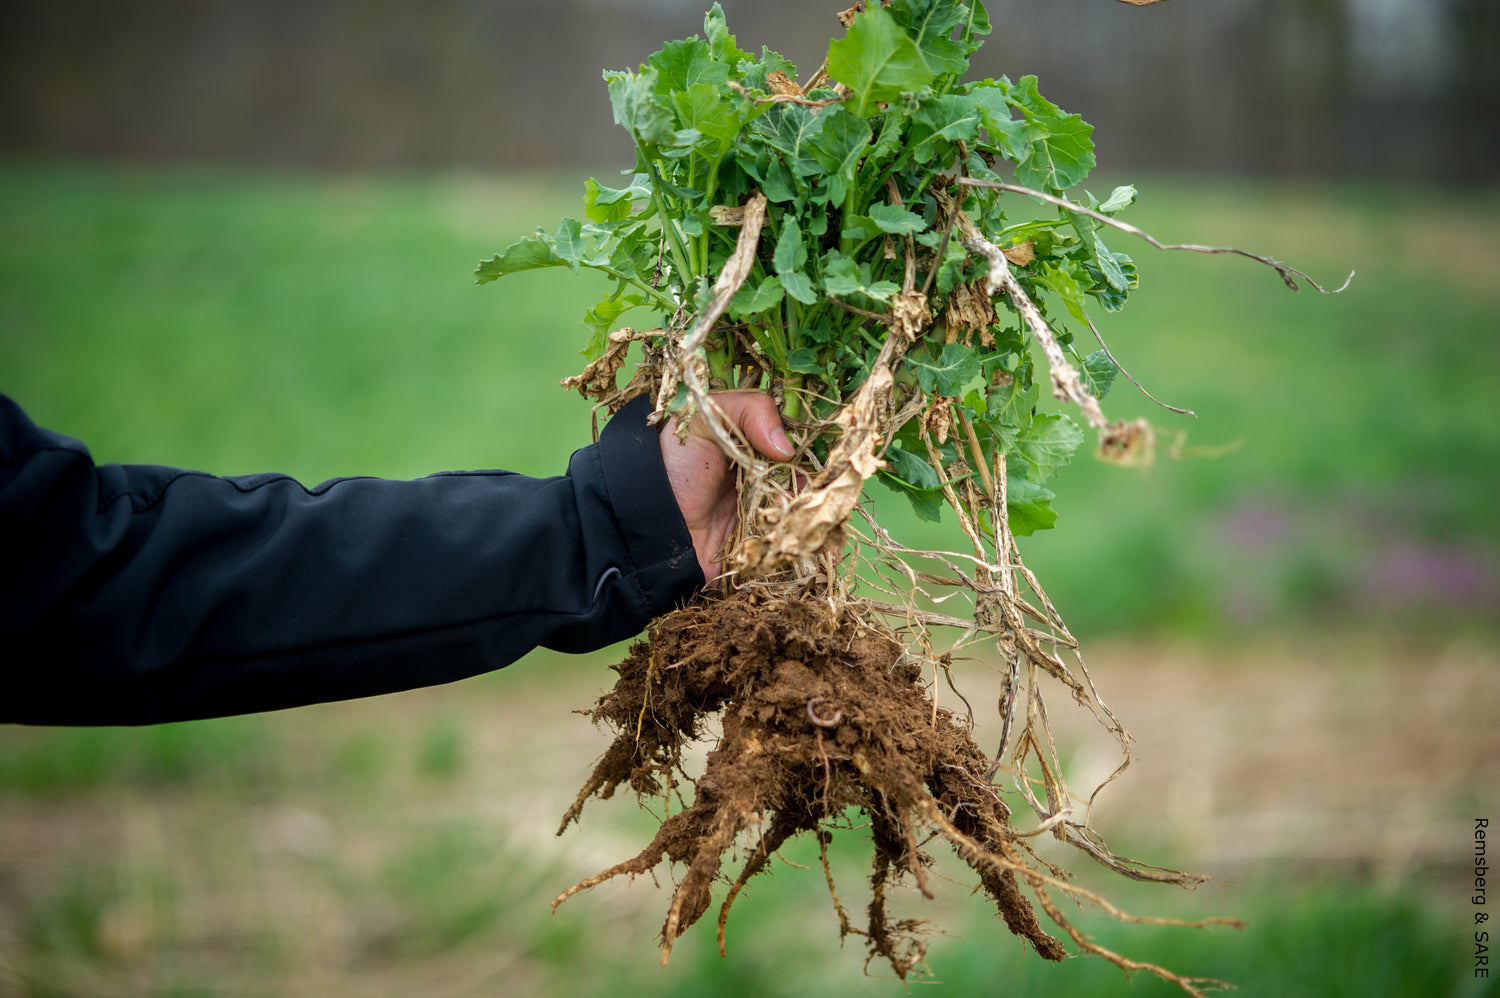
- Soil Probe or Trowel: A soil probe is a specialized tool designed for taking soil samples. It's a cylindrical tube with a T-handle that allows you to extract a consistent soil core. If you don't have a soil probe, a clean trowel or spade can be used instead.
- Clean Plastic Bucket: You'll need a clean plastic bucket to mix and combine your soil samples.
- Sample Boxes or Bags: Most soil testing laboratories provide sample boxes or bags for submitting your soil samples. If not, you can use clean, resealable plastic bags.
- Permanent Marker: Use a permanent marker to label your sample boxes or bags with the appropriate information, such as the location or garden area.
- Soil Sampling Map (optional): If you're sampling multiple areas, it can be helpful to create a map or diagram to keep track of where each sample was taken.
Sampling Techniques
Proper soil sampling techniques are crucial to ensure accurate and representative results. Here are the steps to follow:
- Define the Sampling Area: Identify the specific area you want to sample, such as a vegetable garden, lawn, or landscape bed. Avoid mixing samples from different areas, as soil conditions can vary significantly.
-
Composite Sampling
In some situations, composite sampling can be an effective technique for soil testing, especially when dealing with large areas or when trying to reduce the number of samples and associated costs. Composite sampling involves combining and mixing several individual soil samples from the same general area into one composite sample for analysis. The process typically involves the following steps:
- Define the sampling area: Identify the area of interest that you want to represent with the composite sample, such as a large lawn, field, or landscape bed.
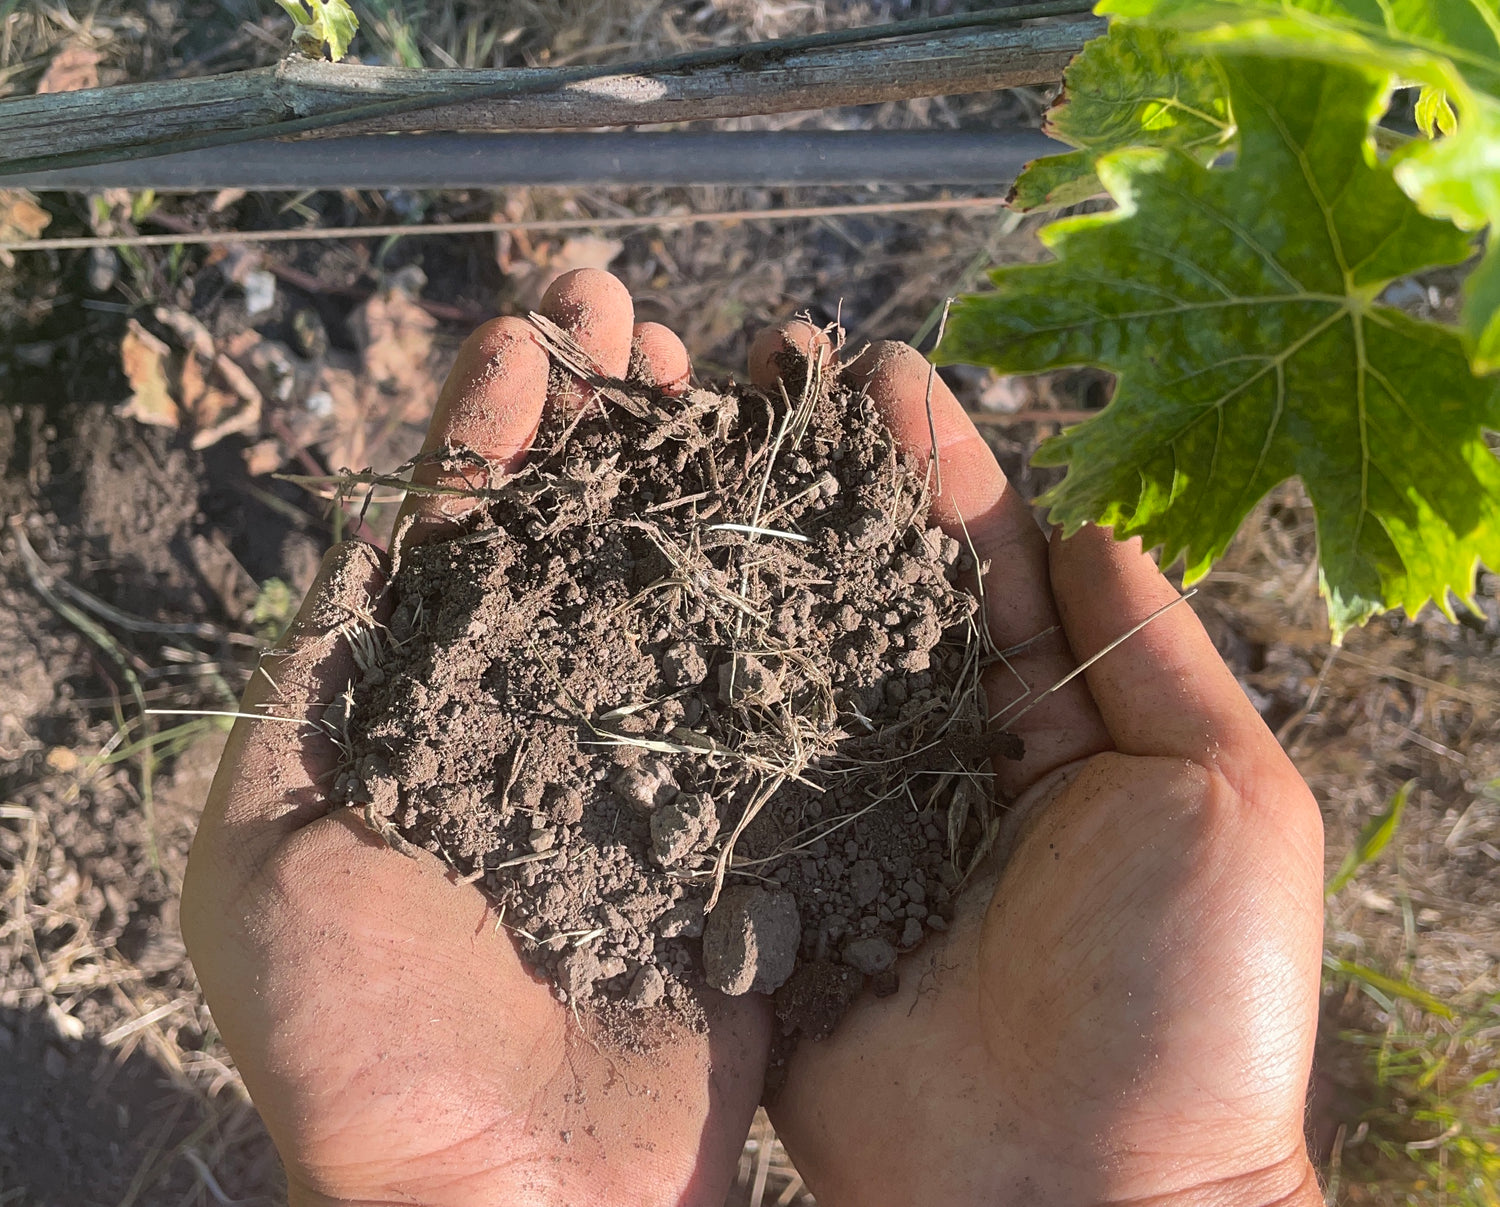
- Collect subsamples: Within the defined area, collect 10-15 individual subsamples or cores from random locations using a soil probe or trowel. The subsamples should be taken at the appropriate depth for the plants growing in that area.
- Mix subsamples: Place all the subsamples into a clean plastic bucket and thoroughly mix them together, breaking up any clumps and removing any debris or rocks.
- Create the composite: After mixing, transfer a representative portion (usually around 1-2 cups) of the combined soil into a labeled sample box or bag. This composite sample will represent the entire sampling area.
Composite sampling can be useful in the following situations:
- Large areas with relatively uniform soil conditions, such as extensive lawns, fields, or pastures.
- Reducing the number of samples and associated costs for analysis when testing a large area.
- Preliminary screening of an area before more intensive sampling if needed.
However, it's important to note that composite sampling may not be appropriate in certain cases, such as:
- Areas with known or suspected hot spots or significant soil variability.
- Situations where you need to identify specific problem areas or nutrient deficiencies.
- When testing for contaminants or pollutants that may be localized.
If you choose to use composite sampling, be sure to follow proper techniques and clearly document the sampling locations and procedures used. Additionally, consult with your local extension service or soil testing laboratory for their specific recommendations and guidelines regarding composite sampling.
Sampling Tips and Considerations
- Avoid Contamination: Ensure that your sampling tools and containers are clean and free from residues that could contaminate the soil sample.
- Timing: Avoid sampling immediately after fertilizer or lime applications, as this can skew the results. Wait at least 6-8 weeks before sampling.
- Soil Moisture: Collect samples when the soil is moist but not saturated. Extremely dry or wet soil can make sampling difficult and potentially affect the results.
- Sampling Pattern: When collecting subsamples, follow a zigzag or random pattern across the sampling area to ensure a representative sample.
- Separate Samples for Different Areas: If you have distinct areas with different soil conditions or plant types, collect separate samples for each area to obtain accurate recommendations.
- Sample Handling: Once collected, store the soil samples in a cool, dry place until you're ready to submit them to the testing laboratory.
- Follow Laboratory Instructions: Each soil testing laboratory may have specific instructions or requirements for sample submission. Be sure to follow their guidelines carefully.
Interpreting Soil Test Results
After submitting your soil samples, Alluvial Soil Lab or the testing laboratory you use will provide you with a detailed report containing valuable information about your soil's condition. Here are some key components of a typical soil test report:
- Soil pH: The pH level indicates the acidity or alkalinity of your soil, which affects nutrient availability and plant growth.
- Nutrient Levels: The report will provide information on the levels of essential nutrients, such as nitrogen, phosphorus, potassium, calcium, magnesium, and various micronutrients.
- Organic Matter Content: This value represents the amount of organic matter present in your soil, which contributes to soil structure, water-holding capacity, and nutrient availability.
- Fertilizer Recommendations: Based on the nutrient levels and the plants you plan to grow, the report will provide recommendations for the type and amount of fertilizer to apply.
- Liming Recommendations: If your soil pH is too low (acidic) or too high (alkaline), the report will recommend the appropriate amount of lime or other amendments to adjust the pH to the desired range.
- Additional Comments or Suggestions: Some reports may include additional comments or suggestions specific to your soil conditions or gardening goals.
It's important to carefully review and understand the soil test report to make informed decisions about soil amendments and management practices. If you have any questions or need further guidance, don't hesitate to consult with the testing laboratory, local extension services, or experienced gardeners or professionals in your area. By following proper soil sampling techniques and regularly testing your soil, you can ensure that your plants receive the nutrients they require for optimal growth and productivity, while also promoting sustainable and environmentally responsible gardening practices.
- "A Guide to Collecting Soil Samples for Farms and Gardens" by Oregon State University Extension Service: https://extension.oregonstate.edu/catalog/pub/ec-628-guide-collecting-soil-samples-farms-gardens
- "The Ultimate Guide to Soil Sampling Lawns, Gardens & Landscapes" by North Carolina State University Extension: https://vance.ces.ncsu.edu/lawn-garden-resources/the-ultimate-guide-to-soil-sampling-lawns-gardens-landscapes/
- "Soil Testing for Gardens, Lawns and Orchards" by Simply Soil Testing: https://www.simplysoiltesting.com/
- "How do I test my garden soil?" by Oregon State University Extension Service: https://extension.oregonstate.edu/gardening/soil-compost/how-do-i-test-my-garden-soil
- "Soil Testing" by University of Minnesota Extension: https://extension.umn.edu/soil-testing/soil-testing
- "Soil Sampling for Home Gardens and Landscape Plantings" by Clemson University Cooperative Extension: https://hgic.clemson.edu/factsheet/soil-sampling-for-home-gardens-landscape-plantings/
- "Soil Testing: A Guide for Farms with Diverse Vegetable Crops" by Cornell University: https://cpb-us-e1.wpmucdn.com/blogs.cornell.edu/dist/3/7265/files/2017/03/Soil-Testing-Guide-for-Diverse-Vegetable-Crops-1qqxnxr.pdf