Soil Sampling Methods
Choose the right sampling method for your field analysis needs
Materials Needed
- Clean plastic bucket
- Shovel or soil probe
- Plastic bag
- Labeling materials (marker, tape, or preprinted label)
- Gloves and mask (for potentially contaminated soils)
Step-by-Step Sampling Process
Step 1: Define Your Sampling Area
- Define the specific area you want to test.
- For a comprehensive evaluation, take one composite soil sample for every 1,000 square feet of garden space.
Step 2: Collect Soil Samples
- Using a clean bucket and shovel (or soil probe), collect soil from three different spots within the defined area.
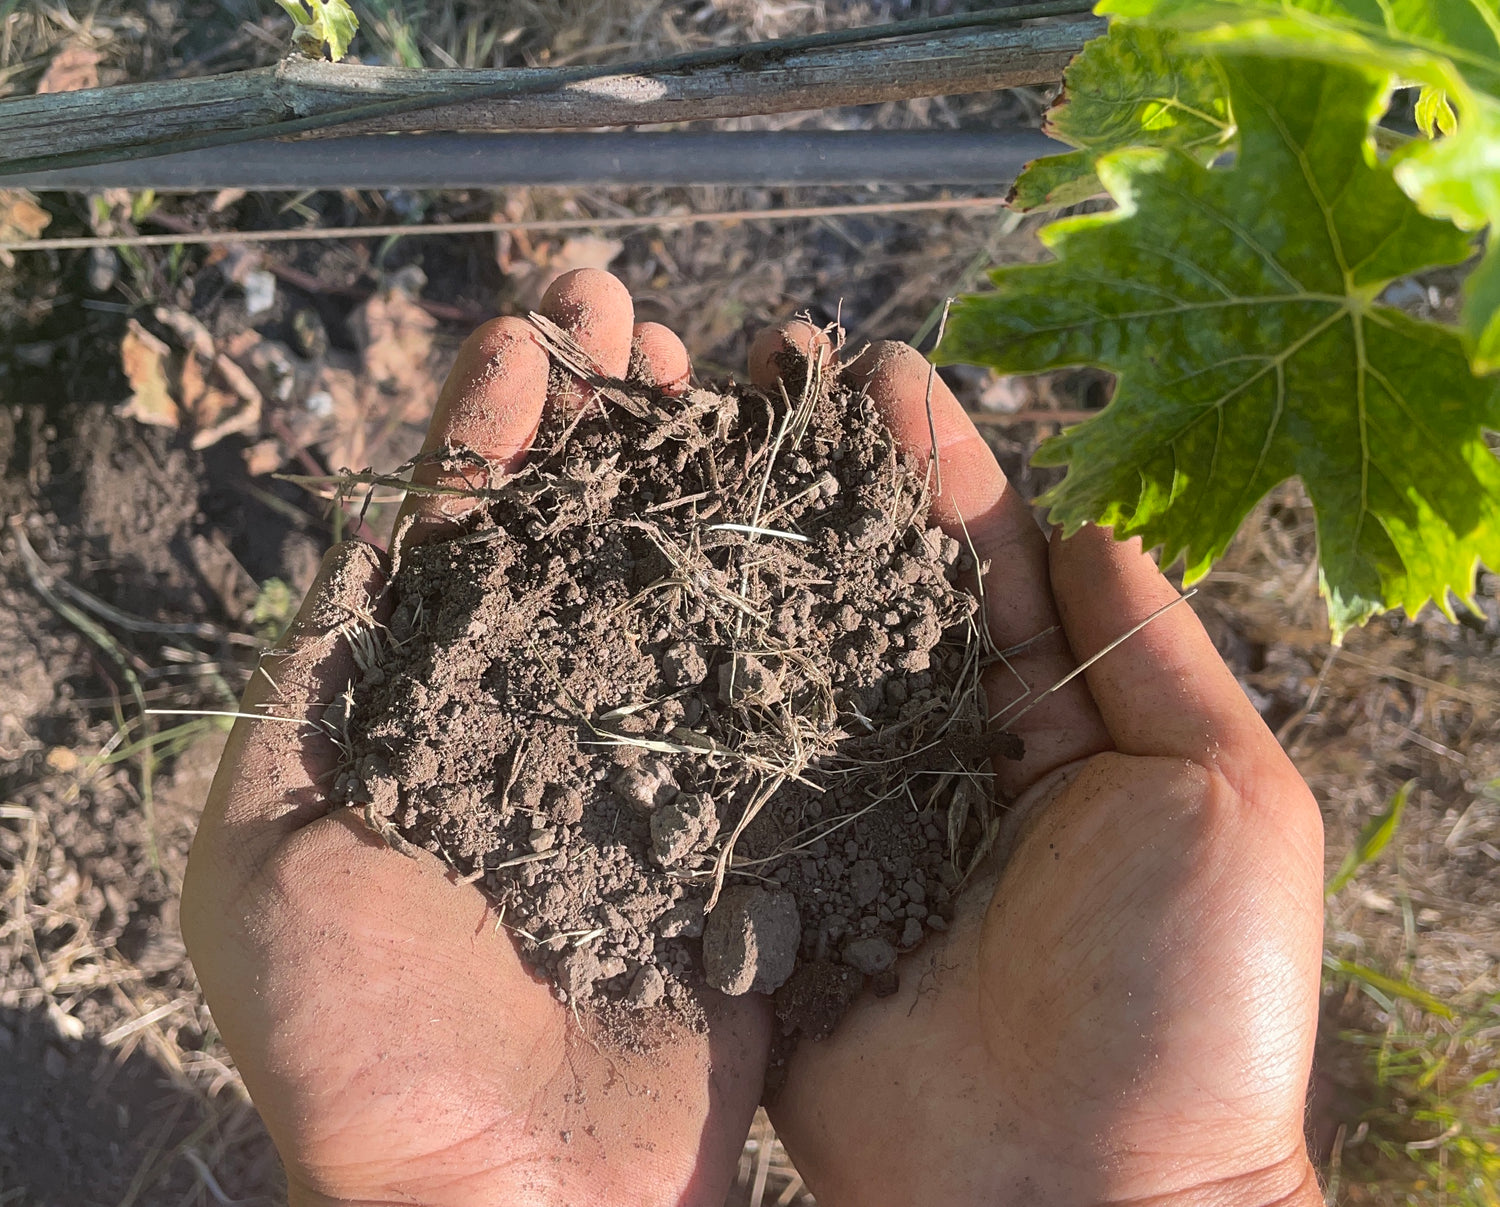
- Dig down to a depth of six inches and take a vertical slice of soil from the surface to the six-inch mark. This ensures your sample represents the full topsoil layer.
- Avoid areas with unusual conditions such as compost piles, pet waste, or recently fertilized sections.
- Do not collect samples when the soil is excessively wet, as this can affect test results.
Step 3: Prepare the Sample
- Break up any soil clumps and remove rocks, stones, plant matter, and debris.
- Mix the collected soil thoroughly in the bucket to create a homogeneous composite sample.
Step 4: Package the Sample
- Measure 3 cups of soil from the mixed sample.
- Place the soil in a clean, resealable plastic bag.
- Label the bag with the following information:
- Sample ID (e.g., "Stevie's Front Yard")
- Type of Test Requested
- Order Number (found in your order confirmation email)
Step 5: Submit Your Sample
- Purchase your soil test on our website.
- Please refer to this page for the best lab address right now to send samples to.
- Use any postal carrier of your choice.
Instructions for Those with a Soil Sample Collection Kit
If you received a soil sample collection kit, follow these additional steps:
Step 1: Prepare the Kit
- Remove the shipping label, ID label, and instructions from the package.
Step 2: Collect and Package the Sample
- Follow the same collection process as outlined above.
- Open the legs of the provided bag to fully fill it with soil.
- Apply the ID tag with your order number and sample ID to the bag.
- Place the shipping label over the bag opening to seal it shut securely. Do not cover test type tag.
Turnaround Time & Results
- Turnaround time depends on test type.
- Results will be sent via email with a detailed report on soil composition, nutrient levels, and recommendations.
Safety Precautions
- Always wear gloves, a mask, or other necessary PPE when collecting soil from areas that may be contaminated.
- Wash hands thoroughly after handling soil samples.
By following these steps, you ensure an accurate and effective soil test, helping you make informed decisions for your garden or landscape.
Choose the Sampling Method That Works Best for You
Composite Sampling
Multiple subsamples are collected from random or systematic locations across a garden, landscape, or field area, mixed thoroughly, and a representative portion is sent to the laboratory. This method reduces cost while providing an average soil condition for the entire area.
Red dots show random sampling points that are mixed into one composite sample
Key Benefits:
- Most cost-effective sampling method
- Provides general area fertility overview
- Good for uniform gardens, landscapes, and fields with consistent management
- Ideal for basic soil testing and lime requirements
- Typically 10-20 subsamples per area being tested
Grid Sampling
Soil samples are collected from a regular grid pattern across the garden, landscape, or field, typically every designated area interval. Each grid cell is tested separately to create detailed fertility maps showing spatial variability across the entire area.
Blue dots show systematic grid sampling points for detailed mapping
Key Benefits:
- Creates detailed soil fertility maps
- Enables precision gardening and targeted fertilizer application
- Identifies variability patterns in gardens, landscapes, and fields
- Most comprehensive data collection method
- Higher initial cost but better long-term value for large areas
Zone Sampling (Management Zone)
The garden, landscape, or field is divided into zones based on plant performance, soil types, topography, or management history. Samples are collected within each distinct zone. More targeted than composite sampling but less intensive than full-grid sampling.
Different colored zones represent distinct management areas with targeted sampling
Key Benefits:
- Balances cost with detailed information
- Targets known variability in gardens, landscapes, and fields
- Uses existing knowledge (plant performance, soil observations)
- More efficient than grid sampling
- Good for areas with distinct management or growing zones
Benchmark or Directed Sampling
Samples are taken from specific representative points such as high/low performing areas, problem spots, or known soil types rather than sampling the entire garden, landscape, or field systematically. Used for troubleshooting issues or monitoring trends over time.
Targeted sampling of specific areas: problem spots (red) and high-performing areas (green)
Key Benefits:
- Lowest cost for specific problem diagnosis
- Targets known issues or monitoring points
- Good for troubleshooting and research in gardens and landscapes
- Establishes baseline for future comparisons
- Efficient for specific management decisions


